
The Complete Closet Cleanout Guide: A System for Letting Go
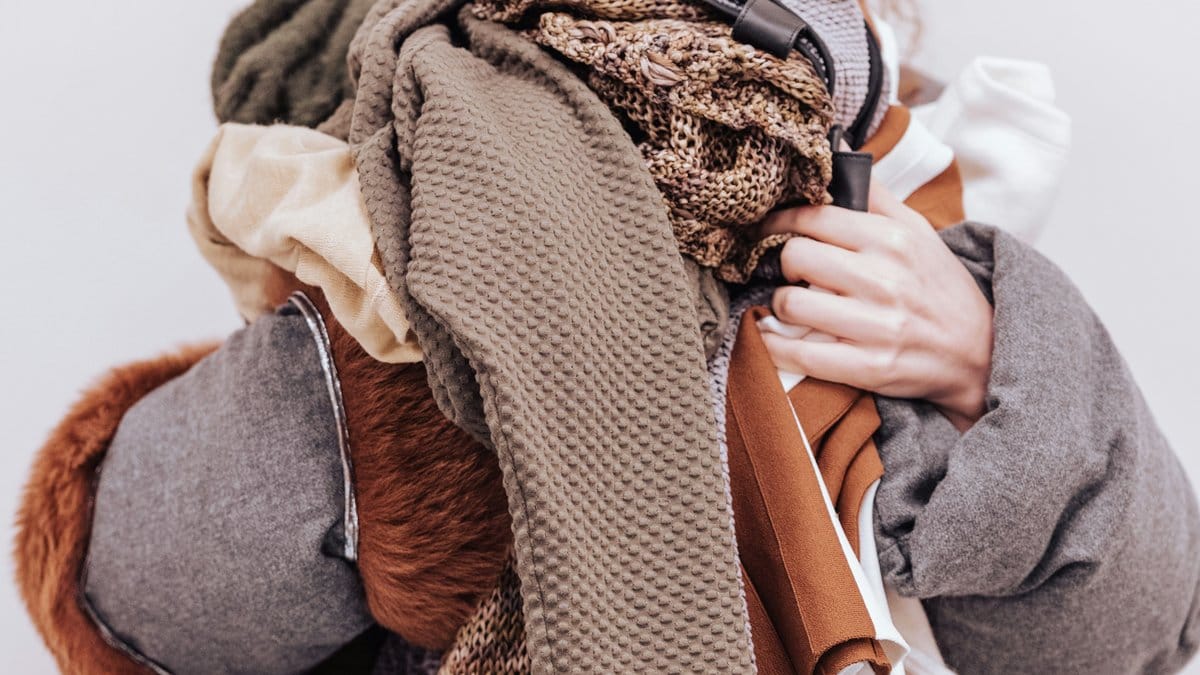
You open the closet door and feel nothing helpful. It’s full — overstuffed, even. And yet you reach for the same four things every morning. The rest just sits there. Some of it hasn’t moved in months. Some of it still has tags on.
You’ve probably tried to clean out your closet before. Maybe you pulled everything out, stared at the pile on your bed, felt overwhelmed, and shoved most of it back in. A clear method changes that.
A closet cleanout works when you have a clear way to decide what stays and what goes — so you stop guessing and start seeing what you actually own.
This guide gives you that system. Category by category, decision by decision, from preparation to the final inventory. No guilt trips. No arbitrary rules that ignore how life actually works.
By the end, your closet holds only what serves you — and you know exactly what’s in it.
What Is a Closet Cleanout?
A closet cleanout is going through every item in your wardrobe, making deliberate keep-or-remove decisions, and reorganizing what remains. It’s not the same as tidying up or rearranging shelves — it’s a full review of what you own, guided by clear criteria instead of mood.
Some people call it a closet purge, but there’s an important difference. A purge implies reckless removal — tossing things out in a burst of frustration. A cleanout is deliberate. You’re not throwing things away to feel lighter for an afternoon. You’re building a wardrobe that actually works.
The goal isn’t to own as little as possible. It’s to own only what you wear, value, and feel good in — and to remove everything that’s taking up space and mental energy.
A wardrobe cleanout works best when it’s systematic: one category at a time, with the same set of questions applied to every piece. Without structure, you end up making emotional decisions — keeping things out of guilt (“it was expensive”), nostalgia (“I wore this on that trip”), or fantasy (“I’ll fit into this again someday”).
If the emotional side of letting go is what trips you up most, we have a deeper dive on decluttering your wardrobe without regret that focuses specifically on that.
Why Most Closet Cleanouts Fail
Before getting into the method, it’s worth understanding why your past attempts may not have stuck. Most cleanouts fail for three reasons.
1. No clear way to decide
Without clear criteria, every item becomes a negotiation with yourself. You hold up a sweater, think “maybe,” and put it back. Multiply that by 80 items and you’ve spent three hours making zero progress.
You need something that turns “maybe” into a clear yes or no. We’ll build that below — and if you want more depth, we have a full guide to deciding what to throw out.
2. Trying to do everything at once
Dumping your entire wardrobe onto the bed is dramatic but counterproductive. Decision fatigue kicks in fast. By hour two, you’re keeping things you’d normally let go of just to be done.
The category-by-category approach fixes this. You process one type of clothing at a time — tops, then bottoms, then outerwear — so each session is focused and manageable.
3. No plan for what comes after
Even a successful cleanout unravels if there’s nothing to maintain it. Clothes drift back in. The “donate” pile sits in the corner for six weeks. You forget what you kept.
The last sections of this guide cover exactly that — inventory, maintenance, and the steps that make a cleanout stick.
Before You Start: Setting Up
A cleanout goes faster and produces better results when you prepare the space and your tools in advance.
What you need
- Four containers or zones — labeled Keep, Donate, Store, and Discard
- A full-length mirror — you’ll try things on; that’s part of the process
- A clear surface — bed, table, or clean floor space for sorting
- 2–3 hours per session — you don’t need to finish in one day, but each category needs serious focus
- Good lighting — you’d be surprised how different clothes look under natural light versus a dim closet bulb
The four piles
Every item you touch goes to one of four places:
| Destination | Criteria |
|---|---|
| Keep | You wear it regularly, it fits well, it’s in good condition, and you’d choose it again today |
| Donate | It’s in good condition but no longer right for you — someone else can use it |
| Store | It’s seasonal, sentimental, or occasional — like formal event wear |
| Discard | It’s damaged, stained, stretched out, or too worn to give away |
One thing to watch: the Store pile can become a hiding spot for things you can’t bring yourself to let go of. If it starts growing, be honest with yourself. Storing isn’t the same as keeping — everything you store gets re-evaluated next time.
Mindset going in
This isn’t about owning less for the sake of it. It’s about making your closet useful again — a place where everything you see is something you’d actually put on. Think of it as editing, not erasing.
We put together a printable Closet Audit Checklist that breaks down each category with keep/remove criteria and space to track your inventory — useful to have on hand as you work through.
The Category-by-Category Method
Work through your wardrobe one category at a time. Pull everything from that category out of the closet, off the shelves, out of drawers — all of it, in one place. Then evaluate each piece against the criteria below.
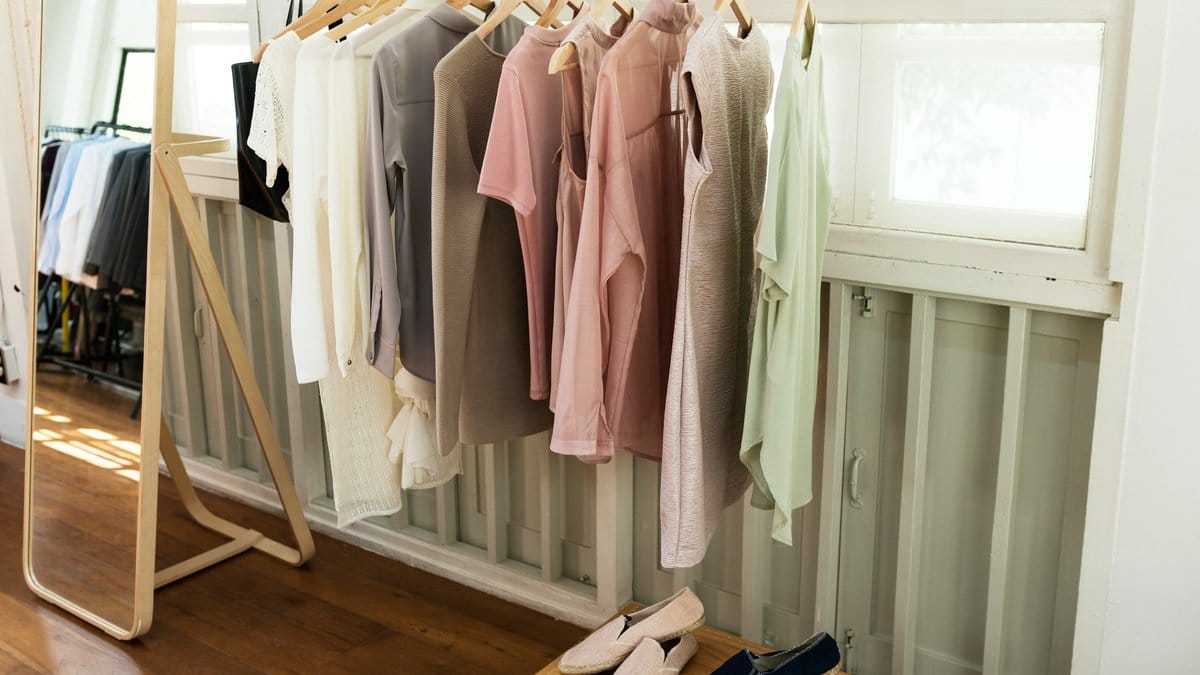
Tops
Pull out every shirt, blouse, t-shirt, sweater, and knit. Lay them out so you can see them all.
Keep if:
- You’ve worn it in the past 3 months (or it’s seasonal and you wore it last season)
- It fits your body as it is today
- It works with at least 2–3 bottoms you own
- You reach for it without hesitation
Remove if:
- It’s faded, pilled, or stretched at the neckline
- You keep skipping over it
- You own 3+ near-identical versions (keep the best one)
- It requires a specific bottom or jacket to “work” — and you never actually make that combination happen
Bottoms
Jeans, trousers, skirts, shorts — all out and visible.
Keep if:
- The fit is right without alterations you’ve been meaning to do for over a year
- You can pair it with at least 3 tops you’re keeping
- You’ve actually worn it in the past season
Remove if:
- It’s the wrong length and you haven’t hemmed it
- You keep it “for painting” or “for the gym” but never use it there
- The waist is uncomfortable but you tolerate it
Dresses and jumpsuits
These are often the hardest to let go of because they carry memories — weddings, vacations, a phase of life.
Keep if:
- You’d wear it again in the next 12 months and have an occasion for it
- It still fits and flatters your body today
Remove if:
- You’re keeping it for the memory, not the wear (take a photo and let the item go)
- You already own a better version of the same thing
Outerwear
Coats, jackets, blazers, vests.
Keep if:
- It works for the weather where you live and the life you actually lead
- It layers well with what you’re keeping
- It’s in good shape — zippers, buttons, lining all intact
Remove if:
- You own more coats than the weather where you live calls for
- It was trendy three years ago and you haven’t reached for it since
Shoes
Line them all up. Every pair.
Keep if:
- They’re comfortable and in good repair
- They serve a distinct purpose (daily, work, formal, weather)
- You actually wear them
Remove if:
- They hurt — no amount of “breaking in” justifies ongoing pain
- The soles are worn through or the material is cracked
- You have multiple pairs serving the same function
Accessories and bags
Belts, scarves, hats, bags, jewelry.
Keep if:
- You use it at least a few times per season
- It adds something specific to your outfits
Remove if:
- You forgot you owned it until this moment
- It’s tangled at the bottom of a drawer and has been for a year
- You keep it “just in case” but the case never comes
Activewear and loungewear
This category quietly expands because worn-out regular clothes get “demoted” here.
Keep if:
- You actually exercise or lounge in it
- It’s in decent condition
Remove if:
- It’s a retired work shirt you now sleep in — and you have five of those
- It’s stained, stretched, or has lost any useful shape
Underwear and basics
Socks, underwear, undershirts, bras, tights.
Keep if:
- It’s in good condition — no holes, stretched elastic, or discoloration
- It fits comfortably
Remove if:
- You skip over it in the drawer
- It’s mismatched, worn thin, or past its functional life
Five Questions for Every Piece You’re Unsure About
When you’re holding something and can’t decide, run it through these five questions in order. If you hit a “no,” that’s your answer.
- Does it fit me — right now, today?
- Have I worn it in the past 12 months?
- Is it in good condition?
- Does it work with at least 3 other pieces I’m keeping?
- Do I feel good wearing it?
If you want a printable version of these questions with space to track each category as you go, we put it into a free checklist — grab the Closet Audit Checklist here.
After the Cleanout: Take Inventory
You’ve made your decisions. The Keep pile is back in the closet. Now comes the step most people skip — and it’s the one that makes the cleanout stick.
Count what you kept.
Not because there’s a magic number, but because knowing what you have changes how you use it. Most people overestimate their wardrobe in some categories (12 black tops? really?) and underestimate others (only one pair of trousers that actually fits?).
A simple tally by category reveals:
- Where you’re over-invested
- Where you have genuine gaps
- Which categories need one or two intentional additions — not impulse purchases
For more on how to do this well, read about the wardrobe inventory method. It walks through counting, categorizing, and making sense of what you find.
If you want a ready-made tool for this, a printable closet audit checklist breaks it down by category with space to track your numbers.
What to Do With Removed Items
Don’t let the donate and discard piles linger. They sit there reminding you of what you let go, and you start second-guessing yourself.
Donate
- Bag items and drop them off within 48 hours
- Local shelters, consignment shops, and textile recycling programs are all good options
- If something is high quality and barely worn, consignment can recoup some value
Discard
- Clothes that are damaged, stained, or structurally worn out aren’t donations — they’re waste
- Many municipalities offer textile recycling for items that can’t be worn again
- Don’t feel guilty about discarding — keeping damaged clothes doesn’t help anyone
Store
- Seasonal items go in breathable garment bags or clear bins, labeled by season
- Revisit stored items at the start of each new season
- If you don’t pull something out when its season arrives, it goes in the next cleanout
Keeping Your Closet Clean
You did the hard part. Now let’s make sure you don’t have to do it all over again six months from now.
The one-in, one-out rule
Every time something new enters your closet, something leaves. It’s a simple habit that keeps things from creeping back. If you buy a new pair of jeans, an older pair gets donated.
Quarterly check-ins
You don’t need a full cleanout every season. A 30-minute review at the start of each quarter is enough:
- Pull out anything you didn’t wear last season
- Re-evaluate the Store bin
- Note any gaps you want to fill intentionally
The next step: know what you have
The cleanout gives you a clean starting point. But if you want to go further — track what you wear, discover combinations you haven’t tried, identify what’s actually missing — you can digitize what remains into a digital closet. That’s actually why we built Magnolia: you photograph and catalog everything you kept, and your wardrobe becomes something you can actually see and work with — not just a rod full of hangers.
Frequently Asked Questions
How long does a full closet cleanout take?
Most people need 4–6 hours spread across two sessions. Don’t try to do it all in one sitting — decision fatigue is real, and you’ll make worse choices after hour three. Focus on 2–3 categories per session.
What if I feel guilty getting rid of things?
Guilt usually comes from one of three places: the money you spent, the person who gave it to you, or the version of yourself the item represents. None of those are reasons to keep something you don’t wear. Taking a photo before letting go can ease the emotional weight — you keep the memory without the clutter.
Should I try everything on during the cleanout?
Yes, for any item you’re unsure about. How something looks on a hanger is unreliable. Try it on, look in the mirror, and ask honestly: would I put this on tomorrow morning? If the answer is “probably not,” you have your answer.
How do I stop clothes from piling up again?
Two habits make the biggest difference: the one-in-one-out rule (something leaves every time something new enters) and a quarterly 30-minute review. Build these into your routine and the next cleanout becomes a quick tune-up, not a full intervention.
Can I do a closet cleanout for someone else?
You can help with the process, but the decisions need to be theirs. What works is being the logistics person — setting up the four zones, pulling categories out, holding up items for them. What doesn’t work is deciding for them. The five questions from this guide work well as a script you can walk someone through.
Image credits: Faruk Tokluoğlu, Curated Lifestyle via Unsplash