
How to Digitize Your Closet: A Step-by-Step Guide
You’ve decided to build a digital closet. You understand the benefits; seeing everything you own, planning outfits from your phone, finally knowing what’s actually in there. Now you’re wondering: where do I actually start? How do I photograph 80 pieces of clothing without losing my mind? How do I organize it all once it’s in an app?
This guide walks through the entire process, from setup to finished closet. It takes a few hours spread across a weekend, and once it’s done, you never have to do it again. You just add new pieces as they come in.
Digitizing your closet means photographing every piece of clothing you own and organizing those photos in a wardrobe app, creating a browsable, searchable catalog of your entire wardrobe that lives on your phone.
(New to the concept? Here’s what a digital closet is and why it matters.)
Before You Start
A little preparation makes the whole process faster and less frustrating.
Choose your app first
You’ll be uploading photos directly into a wardrobe app, so pick one before you start shooting. Switching apps later means re-uploading everything, which is tedious.
Look for something that makes uploading easy, removes backgrounds automatically, and lets you build outfits, not just store photos. Magnolia, which we built, handles background removal and organization automatically. Whichever app you choose, have it downloaded and ready before you start.
Gather your supplies
You don’t need much:
- Your phone. Most wardrobe apps work best with photos taken directly in the app, so you won’t need a separate camera.
- A clean background. A white wall, a door, or a large piece of white paper/poster board. Some people use a clothing rack against a plain wall.
- Good light. Natural daylight near a window is ideal. Avoid harsh overhead lighting or direct sun, which creates shadows.
- A way to lay flat or hang. Flat lays (clothes laid on a surface) work best for most items. Hanging works for structured pieces like blazers and coats.
Optional but helpful: a lint roller, a steamer if things are wrinkled, and a glass of water because this takes a while.
Step 1: Set Up Your Photo Station
Find a spot in your home with good natural light and a clean background. This is where you’ll photograph everything, so make it comfortable.
For flat lays
Lay clothes on a white or neutral surface, a bed with white sheets, a table covered with paper, or even the floor with a white sheet. Smooth out wrinkles and arrange the piece so it looks like it’s being worn: sleeves out naturally, collar flat, shape visible.
For hanging
Hang the item on a plain hanger against a white wall or door. Step back far enough to capture the whole piece without distortion.
Lighting tips
- Face the light source (window) rather than having it behind you
- Overcast days give the most even light
- If natural light isn’t available, a bright lamp pointed at the ceiling can create soft, diffused light
- Avoid mixed lighting (daylight plus warm bulbs), it creates color casts that make your clothes look different than they are
The goal is consistency. Every photo should have roughly the same background, lighting, and angle. This makes your digital closet look clean and browsable instead of chaotic.
Step 2: Photograph Everything
Now the real work begins. You’re going to photograph every piece of clothing you own.
Work by category
Don’t bounce around randomly. Go category by category:
- Tops (t-shirts, blouses, sweaters, tanks)
- Bottoms (jeans, trousers, skirts, shorts)
- Dresses and jumpsuits
- Outerwear (coats, jackets, blazers)
- Shoes
- Bags
- Accessories (belts, scarves, hats, jewelry)
This keeps you organized and gives you natural stopping points. You can do one category per evening if a full day feels like too much.
How to shoot each piece
- Lay or hang the item against your background
- Smooth and arrange so the shape is clear
- Open your app and use its camera (most apps have a “add item” button that opens the camera)
- Frame the shot so the item fills most of the frame with a little margin
- Take the photo — one per item is usually enough
Don’t overthink it. These aren’t fashion photography shots. They need to be clear enough that you can recognize the piece and see its color and shape. That’s it.
Tips for tricky items
- Dark clothes on white backgrounds: Make sure there’s enough light so the fabric details show
- Shoes: Shoot from a slight angle so you can see the shape, not just the top
- Jewelry: Lay on a plain surface, get close, make sure it’s in focus
- Bags: Stuff them lightly so they hold their shape
- Scarves: Fold into a neat rectangle or drape naturally — whatever shows the pattern and color
How long will this take?
Plan for about 1–2 minutes per item once you have a rhythm. A wardrobe of 80 pieces takes 2–3 hours. Most people split this across two or three sessions.
Step 3: Organize as You Go
Some apps let you add details while you’re uploading — category, color, season, occasion. Do this as you go rather than saving it for later. It’s faster when you’re holding the item than trying to remember it from a thumbnail.
Basic organization
At minimum, every item should have:
- Category (top, bottom, dress, outerwear, shoes, accessory)
- Color (primary color is enough)
Optional but useful
Depending on how you want to use your digital closet, you might also tag:
- Season (summer, winter, all-season)
- Occasion (work, casual, dressy, active)
- Formality (everyday, smart casual, formal)
- Fabric (useful for packing — you’ll know what wrinkles)
Don’t go overboard. You can always add tags later, but a closet with overly complicated organization becomes annoying to maintain. Start simple.
Step 4: Review and Clean Up
Once everything is uploaded, scroll through your digital closet. This is often the first time you’ll see your entire wardrobe at once. It will feel amazing.
Check for quality issues
- Any photos that are blurry, dark, or cropped badly? Reshoot them.
- Any items duplicated by accident? Delete the extras.
- Any categories that seem wrong? Recategorize.
Notice the patterns
You’ll probably see things you didn’t expect:
- Way more of one color than you thought
- Categories that are stuffed while others are nearly empty
- Pieces you forgot you owned
- Items that look dated or worn out compared to the rest
You don’t have to act on any of this right now. Just notice it. The visibility alone is valuable. And if seeing everything laid out makes you want to edit, to finally let go of the things that aren’t working, that’s a natural next step. Here’s how to do a proper closet cleanout when you’re ready.
Step 5: Start Using It
A digital closet that just sits there isn’t useful. The value comes from actually using it.
Browse before you get dressed
Instead of standing in front of your physical closet, scroll through your app. See what catches your eye. Try combinations you wouldn’t have thought of.
Plan outfits ahead
Most wardrobe apps let you build outfits by combining items. Try putting together a few looks for the week ahead. If your app has a calendar feature, pin them to specific days.
We built this into Magnolia, you can plan your week visually and see everything at a glance. But even without a calendar feature, just building a few saved outfits gives you something to reach for on busy mornings.
Check before you shop
Heading to a store? Pull up your closet first. See how many white shirts you already own. Check if you have anything that already fills the gap you think you have. Shopping with your full wardrobe visible changes how you buy.
Add new items immediately
When you buy something new, photograph it before it goes in the closet. This takes 30 seconds and keeps your digital wardrobe current. If you let it slide, you end up with a digital closet that’s out of date, which defeats the purpose.
What Comes Next
Once your digital closet is set up, you’ve unlocked a lot of possibilities:
- Build outfit formulas — repeatable combinations that work every time, built from your actual clothes
- Create capsule wardrobes — for travel, for a season, for work
- Track what you wear — see what gets used and what just sits there
- Identify gaps — know what’s genuinely missing instead of guessing
The digitizing part is the foundation. Everything else gets easier once you can see what you have.
If you’d rather have all of this in a printable format — the setup checklist, category list, and photo tips — we put together the Digital Closet Starter Kit. It’s a short guide you can reference while you’re shooting. Grab it here.
Frequently Asked Questions
How long does this actually take?
A wardrobe of 80 pieces takes 2–3 hours total. Most people split it across a few sessions, one category per evening is a comfortable pace. It feels slow at first, but remember: this is a one-time setup. After that, you’re just adding new pieces as they come in, which takes 30 seconds each.
Do I need to photograph every single item?
Yes, for the full benefit. The point is seeing your complete wardrobe. If half your clothes aren’t in there, you’ll keep falling back on memory for those pieces — which is what you’re trying to avoid.
My photos don’t look professional — is that okay?
Completely fine. These aren’t fashion shots. They need to be clear enough that you can recognize the item and see its color. If it’s in focus and the item is visible, it’s good enough. Consistency matters more than quality.
What about underwear and basics?
You can skip socks and underwear unless you want to track them for packing. For basics like undershirts and camisoles, one representative photo is enough, just so you remember they exist.
How do I handle off-season items in storage?
Photograph them before you store them, or pull them out for a dedicated session. Your digital closet should include everything you own, not just what’s currently hanging in reach.
Free resource: Digital Closet Starter Kit A printable guide that walks through the setup — what you need, how to photograph each category, and how to organize everything once it’s in the app. Keep it handy while you’re building your digital wardrobe.
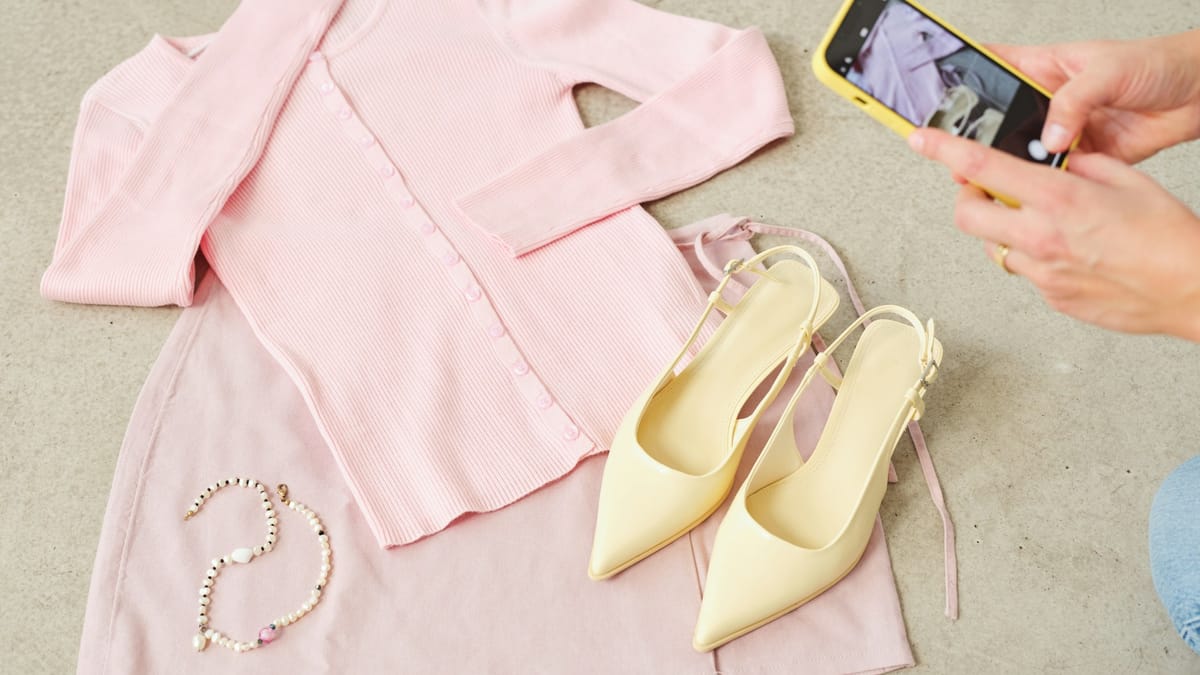
Image credits: Roberta Sant’Anna via Unsplash